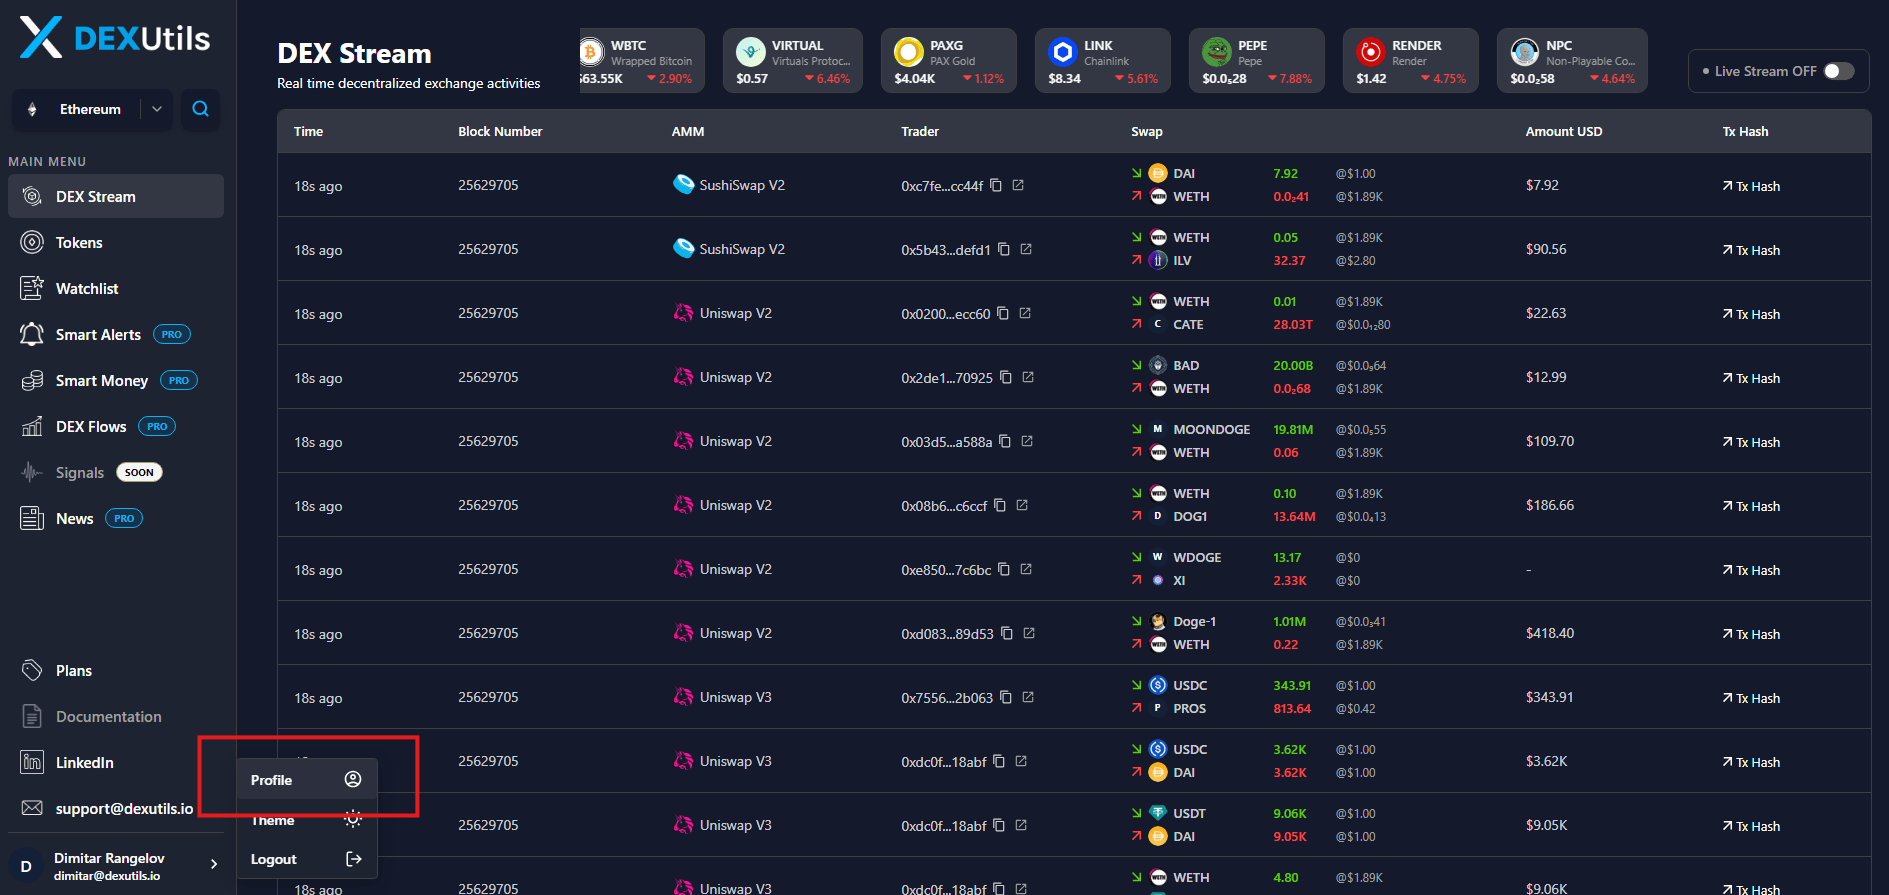
Your DexUtils account is the control center for your watchlists, alerts, portfolio data, and API credentials. This guide covers every step of the setup process — from creating your account and verifying your email to enabling two-factor authentication and managing your subscription. Work through these steps once and your preferences will persist across all devices.

Creating Your Account

DexUtils supports two ways to create an account. Choose the method that best fits your workflow:
1

Go to the registration page

Navigate to dexutils.io/register. Click Sign up with Email.
2

Enter your details

Provide your email address and choose a password that is at least 10 characters long and includes a mix of letters, numbers, and symbols.
3

Verify your email

Check your inbox for a message from noreply@dexutils.io with the subject line Confirm your DexUtils account. Click the Confirm Email button inside the message.
The confirmation link expires after 24 hours. If you do not see the email within a few minutes, check your spam folder or click Resend verification email on the login page.
4

Complete your profile

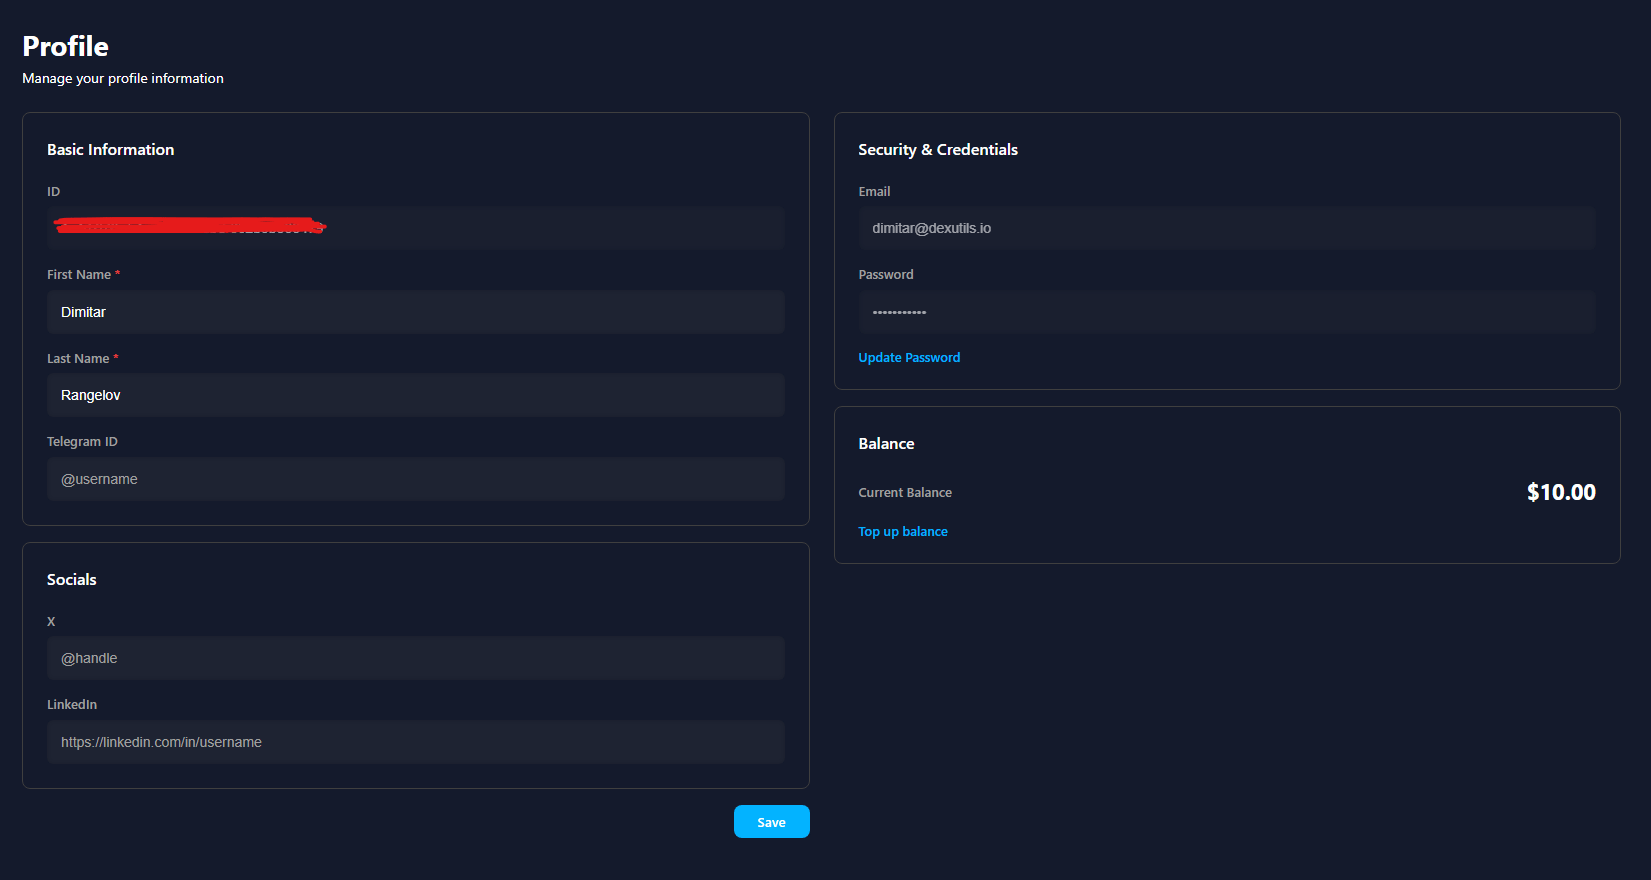
After confirming your email you will be prompted to set a display name, choose your default blockchain, and select a preferred display currency. You can update all of these later in Settings > Profile.

Configuring Your Profile

After your account is active, open Settings > Profile to customize how DexUtils behaves for you:
Set a username that appears on your watchlists and alert history. Display names must be 3–30 characters and may contain letters, numbers, underscores, and hyphens.
Choose the blockchain that DexUtils loads first when you open the Pair Explorer. You can switch chains at any time from the dashboard, but setting a default reduces the number of clicks in your daily workflow. Supported options include Ethereum, BNB Chain, Arbitrum, Base, Polygon, Avalanche, and Solana.
Select the fiat or crypto denomination used to display prices and portfolio values throughout the platform:
  • USD — default for most traders
  • ETH — useful when evaluating ETH-denominated pairs
  • BTC — benchmark performance against Bitcoin

Setting Up Notifications

DexUtils delivers alerts through three channels. Configure each one in Settings > Notifications:

Email Alerts

Enable email delivery for price and volume alerts. Alerts arrive within 10–15 seconds of the trigger condition being met. Make sure your email address is verified before enabling this channel.

Browser Push

Grant notification permission when prompted by your browser. Push alerts appear even when the DexUtils tab is in the background, as long as the browser is open.

Telegram Bot

Connect the @DexUtilsBot on Telegram by clicking Connect Telegram in notification settings. Send the displayed one-time code to the bot to link your account.

Quiet Hours

Set a daily quiet-hours window in your local timezone to pause non-critical notifications overnight without disabling your alerts entirely.

Connecting a Wallet for Portfolio Tracking

Linking a wallet lets DexUtils aggregate your on-chain token balances, LP positions, and historical P&L into the Portfolio Tracker — without ever requiring transaction signing.
DexUtils only needs read-only access to your public wallet address. The platform never asks you to sign a transaction, approve token spending, or share your private key or seed phrase. Anyone asking for those details is not DexUtils.
1

Open Portfolio settings

Navigate to Settings > Portfolio and click Add Wallet.
2

Enter your wallet address

Paste your public wallet address (EVM 0x… or Solana base58 address). You can add up to 10 addresses on the free tier and unlimited addresses on Pro.
3

Label the wallet (optional)

Give the wallet a descriptive label — for example, Hot Wallet, Cold Storage, or DeFi Trading — so it is easy to identify in the portfolio view.
4

Confirm and sync

Click Add Wallet. DexUtils will index your token balances and transaction history. Initial indexing takes 30–60 seconds for most wallets; wallets with extensive history may take a few minutes.

Enabling Two-Factor Authentication

Securing your account with 2FA is strongly recommended, especially if you store API keys or Telegram credentials in your DexUtils profile.
1

Open Security settings

Go to Settings > Security and click Enable Two-Factor Authentication.
2

Scan the QR code

Open an authenticator app such as Google Authenticator, Authy, or 1Password and scan the QR code displayed on screen.
3

Enter the confirmation code

Type the 6-digit code generated by your authenticator app into the confirmation field and click Verify. 2FA activates immediately.
4

Save your backup codes

DexUtils generates 8 single-use backup codes after 2FA is enabled. Store these codes in a secure location such as a password manager. You will need one if you ever lose access to your authenticator app.
If you lose access to both your authenticator app and your backup codes, contact support@dexutils.io with proof of account ownership to begin the account recovery process.

Managing Your Subscription

View your current plan, upgrade to Pro, and manage billing details from Settings > Billing.

Free Tier

Includes Pair Explorer, Token Analytics, up to 5 active alerts, 1 watchlist, and read-only portfolio tracking for up to 10 wallets.

Pro Plan

Unlimited alerts, unlimited watchlists, advanced portfolio analytics, API access with higher rate limits, and priority data refresh at 2-second intervals.
To upgrade, click Upgrade to Pro in Settings > Billing, select a monthly or annual billing cycle, and complete payment. Your Pro features activate immediately after checkout. You can cancel or downgrade at any time — your access continues until the end of the current billing period.